Showing posts with label redo. Show all posts

Wednesday, August 29, 2012

Biding My Time aka. It's All In The Details-Part Deux aka. Things To Do While My Demon House Lashes Out

So while I'm waiting for the bid to come in on the work that has to be done in the basement, I've decided to catch up on a few more little projects.  I think if I tried to start a big project right now I'd probably have a nervous breakdown...and mama don't need that.  Here are a couple pics of my deconstructed basement.


The damage wasn't horrible, but because it was poo water, everything has to be ripped out...but enough about that for now.

All of the kiddos bedrooms are mid renovation...I've started on them, but haven't totally completed them. 

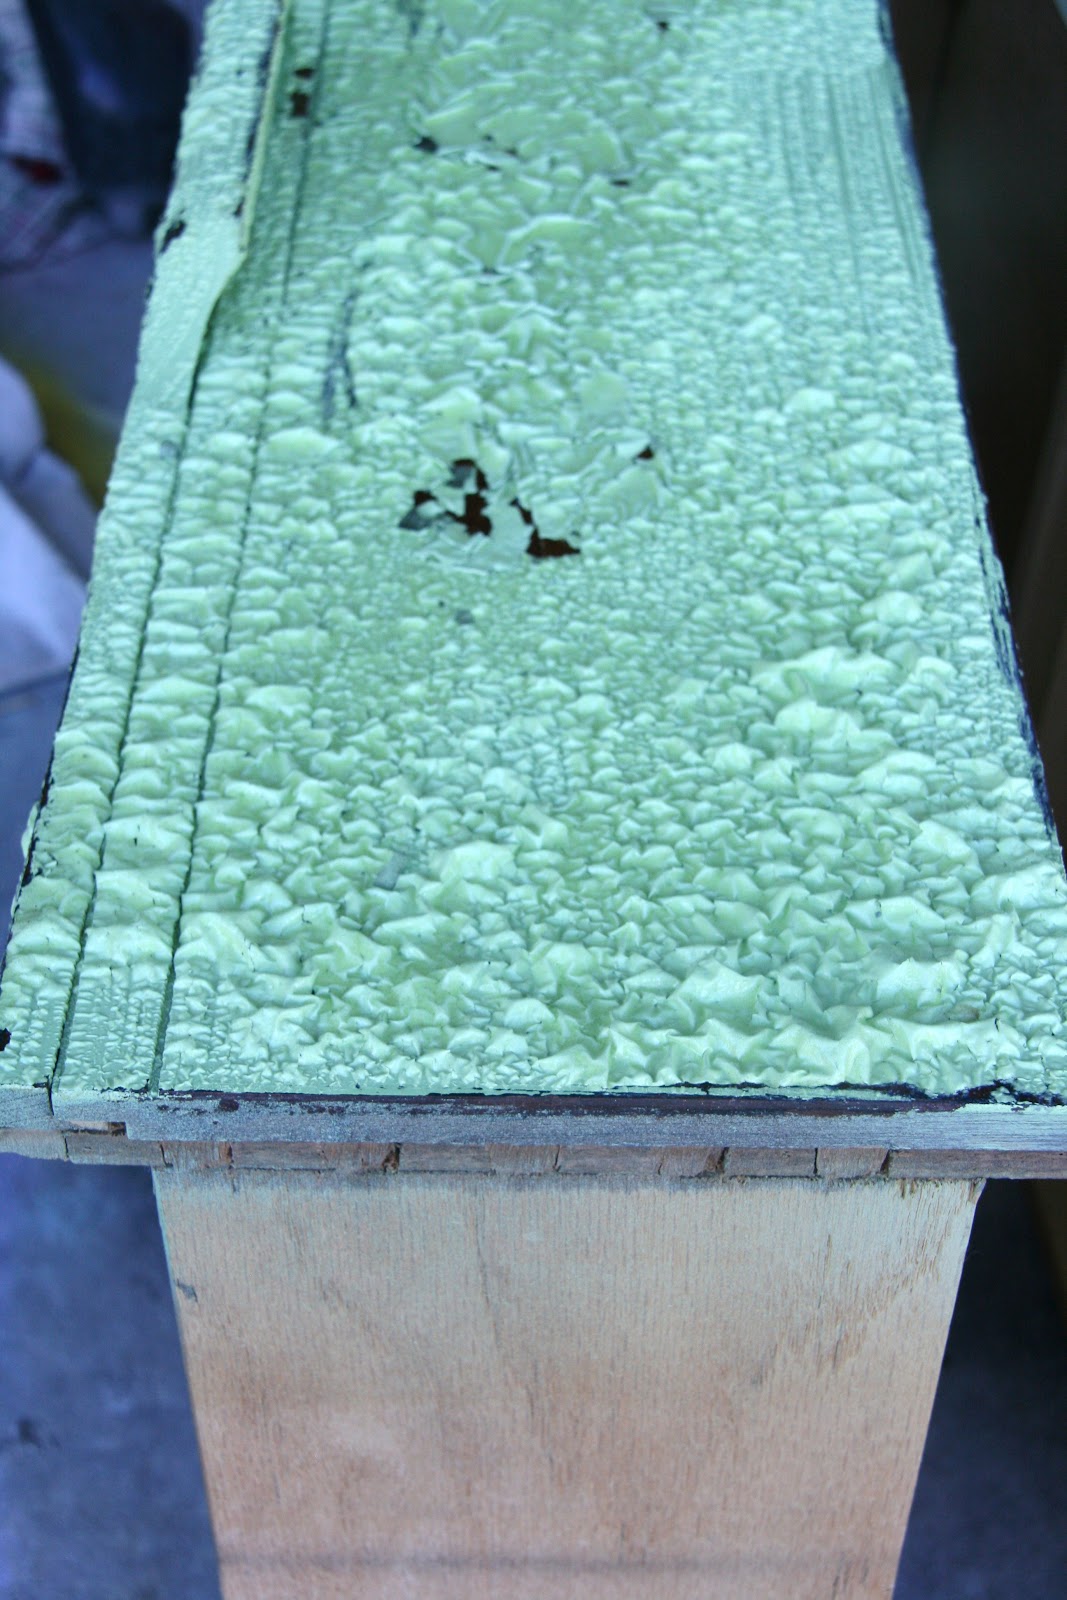
In the nursery/little kiddies room I've been using this green, mid century style nightstand for awhile. 
I love the style and shape of it, but I'm not really feeling the green anymore, so I thought now would be a good time to work off some nervous energy by giving it a fabulous make over.
{Once upon a time, the thought of stripping the paint of furniture used to rank right up there with the notion of moving...arduous, time consuming, and a major pain in the neck.  But I soon realized that it's not as bad as it's been made out to be.  In fact, I actually enjoy stripping paint.  There's something very satisfying about removing old paint to reveal something beautiful and natural that's hiding underneath.  It's like...finding buried treasure...except without the little bowl and strainer thingy.}

I started by stripping the paint off of the drawers. 


I really love the aesthetic of paint and natural wood together.  Some of you may remember the dresser I revamped recently for my daughter's room.

I particularly love the combination of white paint and wood.  I think it's super classy and sophisticated.  But, since this nightstand will be going into a nursery/kiddie room, I wanted to make it fun.  I opted to use turquoise paint instead {Krylon's Ocean Blue is my go to}.
After all of the paint and old top finish was removed I cleaned the wood with Afterwash{available at any home improvement store}.

Then I stained the wood

and applied a couple coats of wax to seal and protect it. 
I love wax.  I haven't done that much research in terms of how it holds up compared to a polyurethane/polyacrylic sealer, but I much prefer to work with wax.  It's so much easier, and if you find a citrus wax...it's also smells better.  And as an added bonus, the finish on the wood looks so much more natural.

Here she is now.  No too shabby, eh?  I like the little pop of blue in the room.


The other little project I completed was this little writing area in my daughters room. 
{note:  contact paper plus swamp cooler equals rolling and shrinking.  Oh well, at least I know that I like the wood look on that wall.  Just one more job to add the list}.
I've tried out several different chairs over the past little while, but just haven't been able to find the right one.  Then I remembered the cute little tree stump end table I purchased a few months ago and new it would be the perfect addition to the room...and it was-just the right fit for the space.  Done!

There are plenty more projects where those came from.  Good thing too, because with all of the shenanigans going on with the house lately, I could have bum loads of nervous energy to work off in the next little while.  Fingers crossed, though, that this demon house has finally been exorcised.


Tuesday, July 3, 2012

The Verdict Is In.

I am disappointed to report that my dream of taking a bubbly bath in a footed tub will have to wait.
Studly is all for a bathroom redo...he doesn't have much choice with death {in the form of black mold} staring him in the face. 
But, after a great deal of research, he and I both realized that purchasing a vintage claw foot tub, though totally rad, was not really that cost effective. 
There are {diy kits} available for refinishing old, crusty bathtubs, but the reviews I read were not that promising.  So, I decided that having the tub professionally refinished was the safer way to go.  I called one bathtub refinishing place and was quoted almost $700.  Adding in $100 for the tub itself, plus another $100-$200 for the hardware I was looking at spending close to one grand{you can buy a brand new claw foot tub for almost that.}

That's when I knew that my dream of soaking in a "clawed basin of utter delight" was just not going to happen...except for in my dreams. 
I was a little depressed at first, but I would much rather salvage the "perfectly fine-but totally clawless" bathtub we already have and spend the money on retiling the shower, buying a new vanity and putting in new floors.  It's not going to be the bathroom of my dreams, but it will look nice...much better the "petrie dish" I have now.
I'll keep you posted on the progress.  Here are few items that are being considered for the renovation.

A modern vanity to satisfy Studly's taste
GODMORGON/ODENSVIK Sink cabinet with 4 drawers IKEA


Porcelain tile that looks like wood planks {I am totally in love with this.  Almost makes me okay with taking a bath in "regular" tub...almost.}

A rustic barn door {to separate the bedroom from the bathroom, cause up until now bathing/showering has been an adventure in exhibitionism.} to satisfy my traditional/farmhouse taste. 

There's one other architectural element I am hoping to add, but I'm gonna wait to tell you about it...just in case Studly shoots it down- just kidding, but kinda not.


Tuesday, March 20, 2012

"Dresser Up"

We've been playing a little game called "musical rooms" at our house. We recently acquired some dowstairs space {Studly's sis had been staying there and recently moved out} and decided now was as good a time as any to move a few of the litter down there. Carter, {the teenage boy wonder}, and Avery, {the nine year old, going on nineteen year old diva} decided they would make the move.

So, for the passed few weeks we have been shuffling furniture from upstairs to downstairs and vice versa. Since the girls would no longer be sharing a bedroom, that meant I would have to find a new dresser for Avery's new space in the basement. I didn't really want to spend much on a dresser. Really, I didn't want to spend anything on a new dresser, so I decided to give an existing dresser a sophisticated new face lift.

I came across this lovely when I first started my blog.


Naturally, I coated her in the brightest color of spray paint I could find.

She wasn't hideous, but I don't think she was the best version of herself.


Then I came across a picture in Elle Decor of a two toned mid century modern dresser and I knew I had to try it out.

Here's how she looks now.


When I stripped the green paint off of the drawers I was in love. How could I have covered up that lucious wood with paint? I must have been insane. I think she's kinda gorgeous...in a retro, 50's-60's kinda way. If I had to name her it would be...Audrey {as in Hepburn} or perhaps Jackie O. Anyway, I'm a little bummed she has to reside in the basement {"nobody puts baby in the basement"}, but that's where she is needed, so that's where she will stay.


The best part of this revamp, it was only $20 {$14 on paint and $6 on After Wash}...which makes me love "my baby" even more.


I will do a full reveal of the bedroom eventually, but I would like to do some kind of treatment {molding of some sort perhaps} to the walls and then paint them first. I am totally open to suggestions if anybody has some.


Wednesday, January 4, 2012

Kicking up the Cozy Factor

My mantle is finished...finally. I was able to hang Christmas stockings, and "deck the halls"...or mantle rather, in all kinds of holiday festiveness. I know, I know, I should have posted pics of the blessed event, but my house was still in total and complete disarray...which brings me to the why I'm posting today.


After the mantle was done, it occured to me that it might look even better flanked by a set of chunky shelves. Coincidentally, Studly had a nice, sturdy pair collecting dust in his office. I thought they would be perfect. In my mind I was envisioning a built in look, only at a fraction of the cost...or hassle.


So, a few days prior to Christmas, Studs and I decided to lug the beasts into the family room so we could see what they would look like in their potential new home. There was quite a bit of, arguing...err discussion that took place regarding the necessity of "cluttering" up the walls, and "overshadowing" of the mantle, yada yada yada. So, we decided to leave it alone and see how we felt about it after a couple of days. And of course, hubs couldn't deny the fact that the shelves definately added to the ambience of the room {even if it meant giving up all of his storage space}. I didn't say anything to him at the time, but he never reads my blog so I'll say it now...I told ya so. Wanna see how the mantle looks with it's two new friends?


In my opinion, they ought to be painted white to match the mantle, but even still, I really like the way everything is looking. The mantle definately added warmth to the room, but adding the shelves into the mix kicked up the "cozy' factor exponentially in my opinion. And I have to say that I am pretty giddy about having oodles and oodles of shelf space to accessorize. I can hardly wait for the tchotchke hunting to begin.


So, what is the moral of this post? Well first, be careful when trying to take away a man's shelf/storage space. Apparently they get extremely attached. And secondly, if you want to add some coziness to your home... just add shelves.


I've still got several projects to complete before I can call the room finished...painting the walls and shelves to name a few, but I'll be sure to keep posting progress pics for those of you who care. I've also got several other projects in the pipeline that I'd like to get to before next Christmas, so check back soon.


Saturday, April 9, 2011

Bathroom Makeover...reveal

Yay! My once hideous bathroom has finally embraced the 2ooo's. There are a few little things that still could use some tweaking/replacing, but I am calling it finished for the time being. If you have forgotten what the space looked like prior to updating allow me to refresh your memory. Brace yourselves.

Photobucket


Depressing right? Now I know why I've needed so much sugar since moving into this house... because everytime I walked passed this room all the life and energy was sucked out of my person. But not anymore.


Here's the new...and much improved space now.


Photobucket

Photobucket

Photobucket

Better right? Is it weird that everytime I walk by it now I want to go inside, lock the door and imagine that I'm at a quaint little beach house. All I can hear is the sound of the seagull's screeching and waves crashing on the shore ...no wait that's just the kids duking it out in the hallway and the overactive boiler downstairs...but whatever.


I commandeered this shutter from the {his and her nursery}. I realize that I just put them up a few months ago, but I am constantly rearranging things. I think I have unusual amounts of pent up nervous energy or ADD...possibly both. But I like it much better as this towel rack.

Photobucket

I timed this project just right, because Hobby Lobby had all of their hooks and knobs on sale 50 percent off this week. Holla!!! I got these assorted hooks for $10.

Photobucket


Photobucket

Photobucket

Photobucket Photobucket

I really like the {collected over time} look. And even though I bought all of these hooks new, the fact that none of them are the same lends itself to that effect.

I am really loving the dry brushed cabinets. I think they pull the whole space together. Painting them was the best spent twenty minutes of my life...almost.


Photobucket


I was really torn on the hardware. Should I pick something worn and distressed like the cabinets or go completely opposite? I decided to do the opposite. I really like the juxtoposition of the old and faded cabinets with the new and bold hardware.

Photobucket Photobucket

I had this old mirror sitting in the basement. It just happened to fit the space over the cabinets perfectly. Photobucket

The nook over the pot is kind of a weird space. It's really tall and narrow. I had these old crates hanging out in the garage and thought they would fit the space nicely.

Photobucket

I filled them up with all sorts of beachiness.

My sis gave me these cool old bottles. I topped them off with seashells for a more beachy look.

Photobucket

Look at all of that dirt. I'm not usually a fan of grime, but I think it works well here.

Super cheap seashell art that I made from dollar store shells and an old picture frame.

Photobucket

A jar of seashells.

Photobucket

And a jar of starfish.

Photobucket

And some coral.

Photobucket

And some more seashell topped bottles.

Photobucket

I've always wanted a chandelier in my bathroom. Why? I don't know. I guess because it's something a little out of the ordinary. The fact that it's turquoise is even better.


Photobucket


Oooh, I found this precious at the thrift store for $5. When I saw it I knew it would be the perfect step stool for the kiddies.


Photobucket

I really hated the navy blue and forest green tile that accented the tub surround so I decided to make a simple shower curtain out of layered strips of muslin to hide it.

Photobucket

It's light and airy...perfect for a beachy chic bathroom.

Photobucket

One of my favorite accessories are these old bars of soap in cute, turquoise boxes. I found them stashed away at my grandma's house. Now when I look at them I will think of her...coincidentally, she is the sweetest woman I've ever known and the soap is called sweet heart soap...AHHHHHHH.

Photobucket

When I started the project I wanted to spend as little money as possible...around $50. I think I came pretty close. Here's the breakdown: $10 for hooks, $23 for knobs {also half off at Hobby Lobby}, $1 for seashells, $6 for starfish, $5 for the chandelier, $12 for muslin for the shower curtain, $5 for storage jars, $5 for the stool and nothing for the twigs, soap, frames, mirror and bottles. The grand total ended up being $67. I went a little over budget, but it's still not too shabby for a complete bathroom makeover.

Linking to:
Funky Junk's Saturday Nite Special