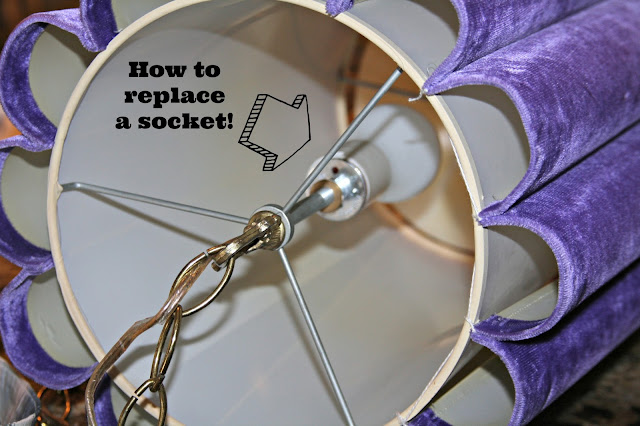
I was beyond thrilled when I found Debbie. I had been searching for a funky, vintage light for my daughter's room
and Debbie totally fit the bill.
I must have been totally overcome with excitement, because I didn't even realize there was no light source until I got Debbie home.
All there was was this crusty, old wire hanging out of the tubing.
I'm ashamed to say it, but under any other circumstance, I might have passed on the light. The thought of replacing a light socket seemed a little scary {electricity frightens me!}, and a hassle and totally outside my skill set.
I guess it was a blessing in disguise, because it forced to me go outside my comfort zone and learn something new. And addition to learning something new, I learned that changing a socket isn't all that scary and is actually quite easy.
Before I started working, I made sure the light was unplugged and had no electricity running to it. DUH!
Then, using wire cutters, I snipped off the crusty part of the wire...well, Studs did. I snapped the photo.
Then we separated the two wires by simply pulling them apart and the removed about a half inch of insulation so that the wires were exposed.
Now the light was ready to go!
This is the socket I used.
It was relatively inexpensive...under $5.
These are the various parts to the socket...the socket itself, which is the white thingy. The red thingy, which attaches to the bottom of the socket, and two screws that are used for attaching the red thingy to the white thingy. And yes, thingy is a technical term...at least at our house it is.
To begin, thread the red thingy or "cap" of the socket onto the wire first.
{Note, the protruding, silver part where the wires are coming out. That is how your socket will attach to the light once the wiring is complete. You just simply screw it on to the tubing.}
Now you can attach the wires to the corresponding screws on the socket.
If you bend the wires into a "u" shape prior to attaching, it will make the job a little easier.
Remember, the rule of thumb is neutral/white/ribbed wires attach to the silver screw and hot/black/smooth wires attach to the gold screw.
Note: If you find yourself in a situation like I did, where both wires are the exact same color and have no ribbing or noticeable differentiation, you won't be able to tell which wire is hot or neutral. The only way to determine that is to use a meter.
Wrap the wire around the screw so that the cut ends are on the right.
Then tighten the screw.
Do this again with the other wire and VOILA!
Now you can attach the socket cap to the socket using the screws provided in the kit.
Screw the socket onto the tubing and hope nothing explodes. Just kidding, but kinda not.
Yee Haw! We have light.
If you're like me and never replaced a socket on a lamp of pendant before, don't let it scare you. I feel like this new skill has opened up all sorts of options for me. Now, if I come across a cool vintage light, or lamp that is not in working order or minus a socket, I won't have to pass on. And now, neither will you!
You're welcome!


No comments:
Post a Comment
I love it when people leave comments, but please keep your spam to yourself. Spam scares me.