
The last few weeks have been a little hectic. My daughter had a piano recital a few days ago, and also just competed in a piano competition last night. She did such an awsome job. I just had to share how proud I was off her. She is turning into quite a poised little lady.

After her competition, we drove straight to my son's belt test for karate. This test was kind of a big deal, so he was really nervous....so nervous, he asked us to stay home. The fam and I sat in the car and watched through the front windows while he tested. He had no idea we were even there. I am proud to say that my son is now a ban-bu belt and is only two belts away from a black belt. Hi-ya!!!

{sorry for the grainy pic, my husband took it on his iphone}
Is it just me, or is he channeling his inner Napolean Dynamite? Congrats on your sweet, karate skillsss.
I rarely share personal stuff, mainly because this is a DIY blog and personal stuff just doesn't seem to fit the content. But, technically, I did make my son and daughter, so I think it counts.
I have also been working on a dresser revamp for the last week or two, in between my stints as chaffeur, maid and cheerleader. It was a bit of a challenge since the median temperature here in SLC has been about 35 degrees. Spray paint and freezing temperatures do not go well together.
It took me a little longer than I expected, but I can finally say...she's done!
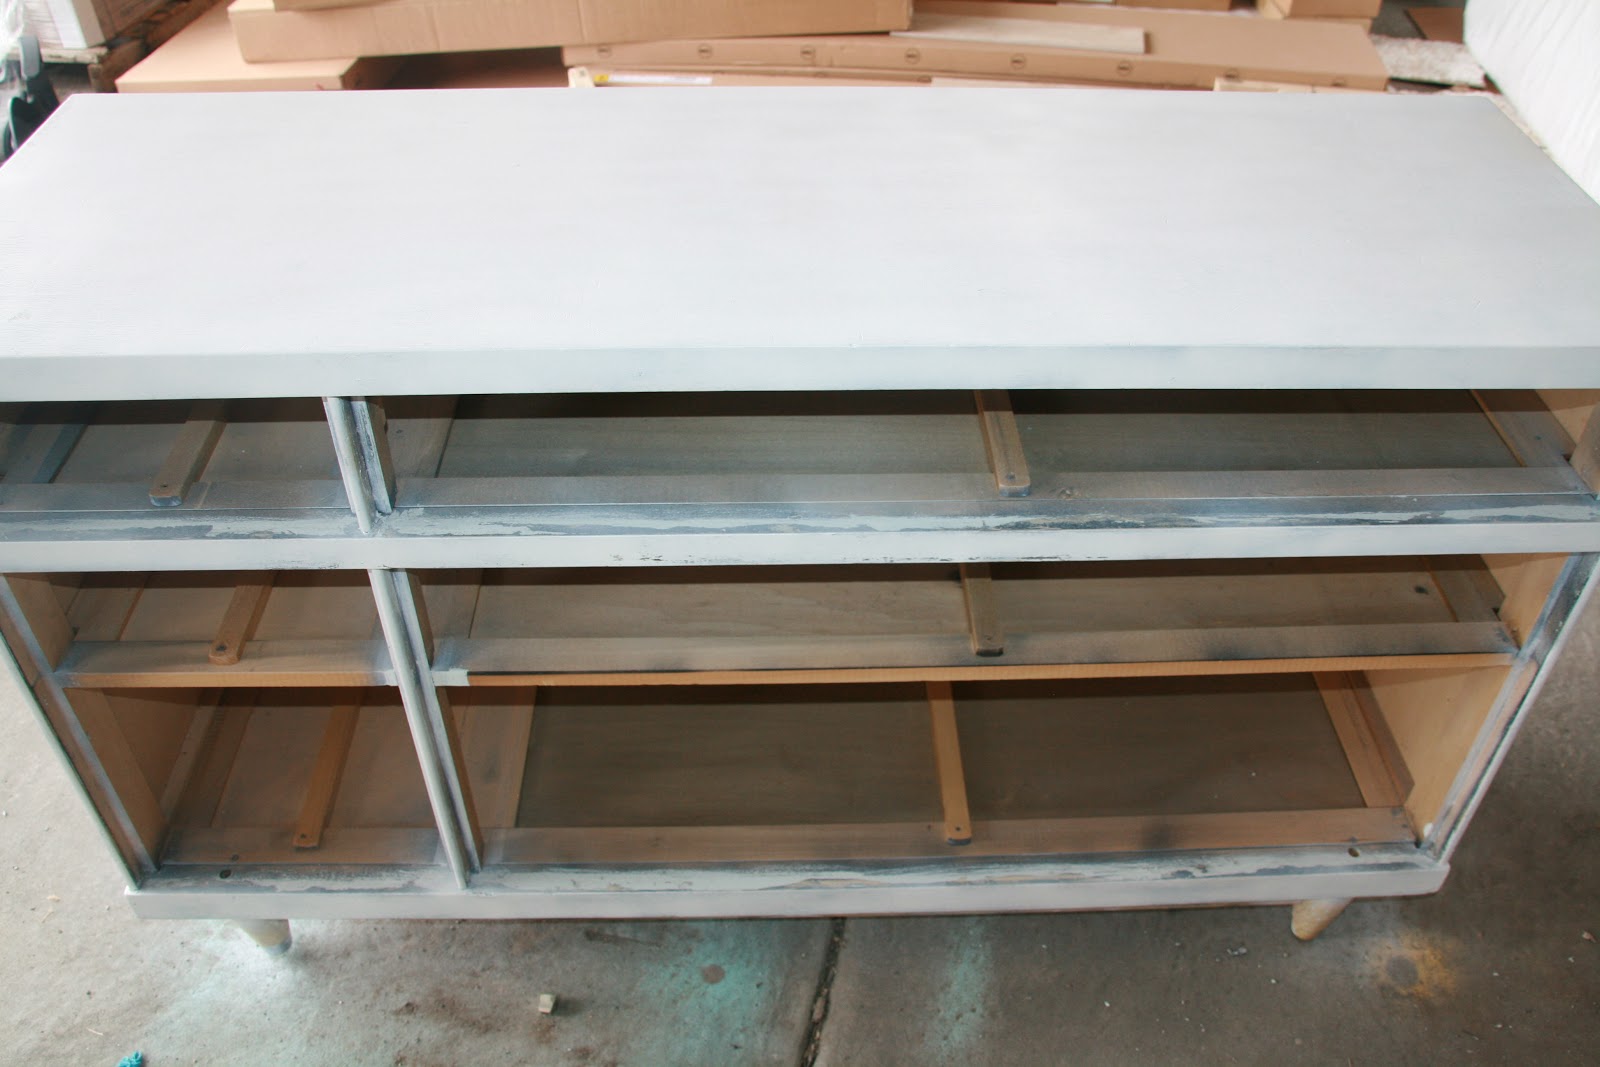
She started out in pretty rough shape. She had a layer of paint that was peeling off.

And underneath ,the finish was a hideous, blonde color with dents, scratches and chips all over.

And underneath ,the finish was a hideous, blonde color with dents, scratches and chips all over.


I was able to look over all of these superficial imperfections mainly because she had the gorgeous, mid-century style that I absolutely love.
I removed as much of the paint and old finish as I could using Jasco brand painter stripper.

Once I had the majority of the paint removed, I gave her a good sanding and a few coats of spray primer. I took care to sand in between each coat.

Once I had the majority of the paint removed, I gave her a good sanding and a few coats of spray primer. I took care to sand in between each coat.


After two coats of primer, I gave her coat of gloss white spray paint. Once she was finally dry, I sanded her again and applied another coat of spray paint. In total, I ended up doing about three coats of paint.
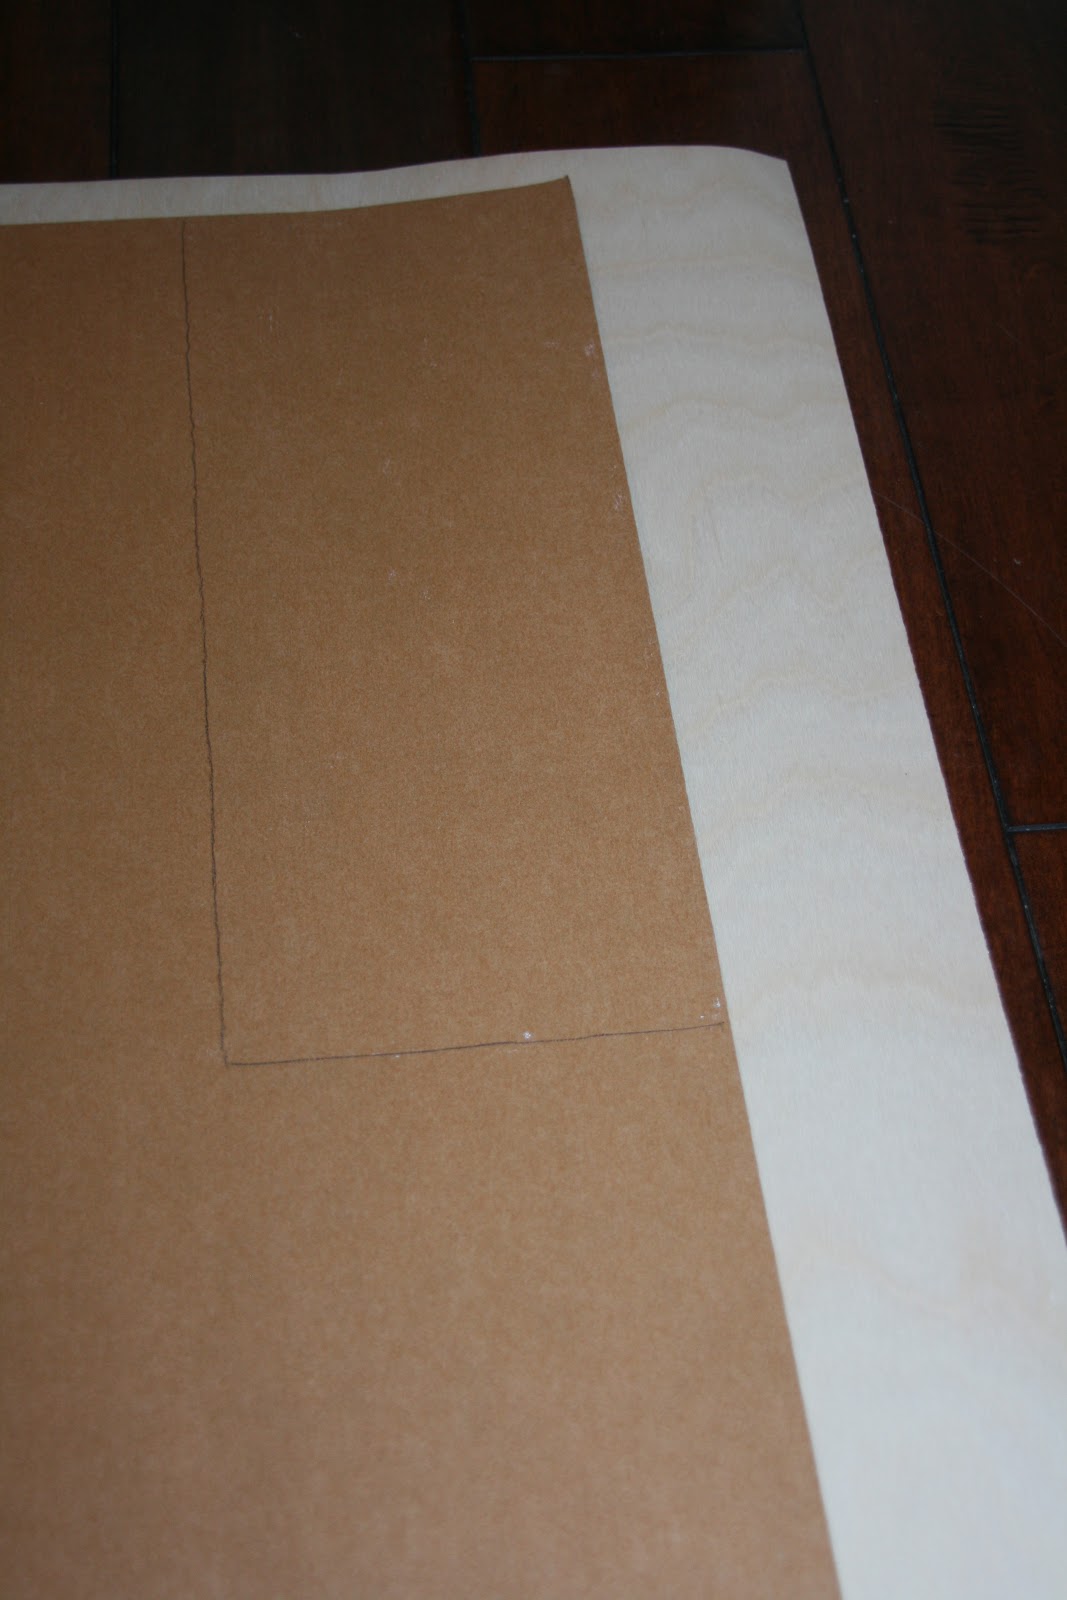
I really wanted to do something new and different with this dresser. After a couple days of thinking about it, I decided to try my hand at using wood veneer.

I used REAL wood veneer that I purchased off of Amazon.com. I ordered three different colors a dark maple, a light birch, and a natural/gray walnut. The sheets of veneer I purchased were 2 ft x 8 ft and were around $20-25 a piece.

I liked the way all three woods looked together, so I decided to use a combination of them on the fronts of the dresser drawers. I was a little nervous at first, having never worked with wood veneer before. But, I was pleasantly surprised at how easy it was to handle.
I simply placed the face of the drawer down onto the backside of the veneer and traced around it with a pen, then cut the piece out.


I could very easily cut the veneer with sharp scissors, eliminating the hassle of using any kind of electric saw. I was beyond excited about not having to spend any more time in my freezing garage.

I could very easily cut the veneer with sharp scissors, eliminating the hassle of using any kind of electric saw. I was beyond excited about not having to spend any more time in my freezing garage.
Once I had all of my pieces traced and cut out, I adhered them to the drawer fronts using this stanky, toxic crud...which, coincindentally, resulted in an unexpected vanilla pudding craving


{I painted a coat on both the drawer front and the back of the veneer with a disposable brush, as per the recommendations on the back of the adhesive.} By the time I went to bed that night I had a headache...and the munchies.


{I painted a coat on both the drawer front and the back of the veneer with a disposable brush, as per the recommendations on the back of the adhesive.} By the time I went to bed that night I had a headache...and the munchies.

The veneer stuck immediately to the drawer fronts, which meant there was little room for error when placing it on.

It took 2-3 days for the adhesive to completely cure and then my dresser was ready to go. Up until now I had kept her hidden away in my closet, but now I think she deserves to be put somewhere she can be seen.

She turned out pretty great! She reminds me of a dresser I saw at West Elm a couple weeks ago.
{source}
I was really impressed by how beautiful the veneer was and how easy it was to work with. I think I may have found my new, favorite product.


I had previously bought hardware similar to the dresser's origional hardware. The brushed nickel finish looks great against the natural wood grain.


In total, I spent about $10 for the adhesive, $75 for the veneer and $15 for the spray primer and paint. That's a grand total of $100. If I remember correctly, the dresser selling at West Elm was $999.
Now that's a savings worthy of frostbite and permanent nerve damage!!!

You did a beautiful job with the dresser. Kudos!
ReplyDeleteWow, well done! It looks amazing! I've never worked with veneer before, you made it look fairly easy.
ReplyDeletex
What a beautiful transformation. Very inspiring.
ReplyDeletewow what a great transformation, it turned out beautiful, i would love to feature it, if that would be ok please let me know,
ReplyDeletelauren
Erika, that dresser looks amazing! I am so glad that you are coming down here this weekend and you can show me how to do this. I LOVE it!!!!
ReplyDeleteAlicia
That turned out so great! I love what you did. Amazing work.
ReplyDeleteBravo!!!
Great job!! I love it!
ReplyDeleteBeautiful dresser - I love the colours and you make the transformation look easy (I am sure it wasn't!). You should be very proud of yourself.
ReplyDeleteSimply stunning.
ReplyDeleteOMYGOSH! I love it! Now I want one, too! Great job!
ReplyDeleteI saw this on The Refab Diaries. It looks so classy! Amazing job!
ReplyDeleteWhat a lovely project! We don't have that store here in Australia, but I like yours better anyway ... FYI (the guy who supplied mine for a previous project told me) when using wood veneer, you can actually rough-cut your pieces & stick them on with an overlap, leaving the trimming til after the glue has dried. It's easily trimmed down to the drawer-front size by using a router, a wood file or even a heavy sanding block (you can also pre-score the drawer shape with a craft knife if you want, to stop any splintering), depending on the thickness of your particular veneer. Saves you from having to hurry to get it together & perfectly lined up before the nasty smelling glue dries. :)
ReplyDelete