
Needless to say, I spent yesterday calling repair men and hoping that my wood floors wouldn't need need to be replaced. Did I mention that it also leaked into the basement downstairs? Ya, awesome. It's the hubs baby now, cause I got better things to do like make a feak-tastic knock off of somebody else's work. Can you handle it?
I saw this fun chalkboard spoon & fork at Pier 1 the other day.

They weren't hellishly expensive {$40 a piece}, but the color scheme didn't really match my kitchen. So, I decided to make my own version instead.
Here's what I used:
And these old cabinet doors as my canvas: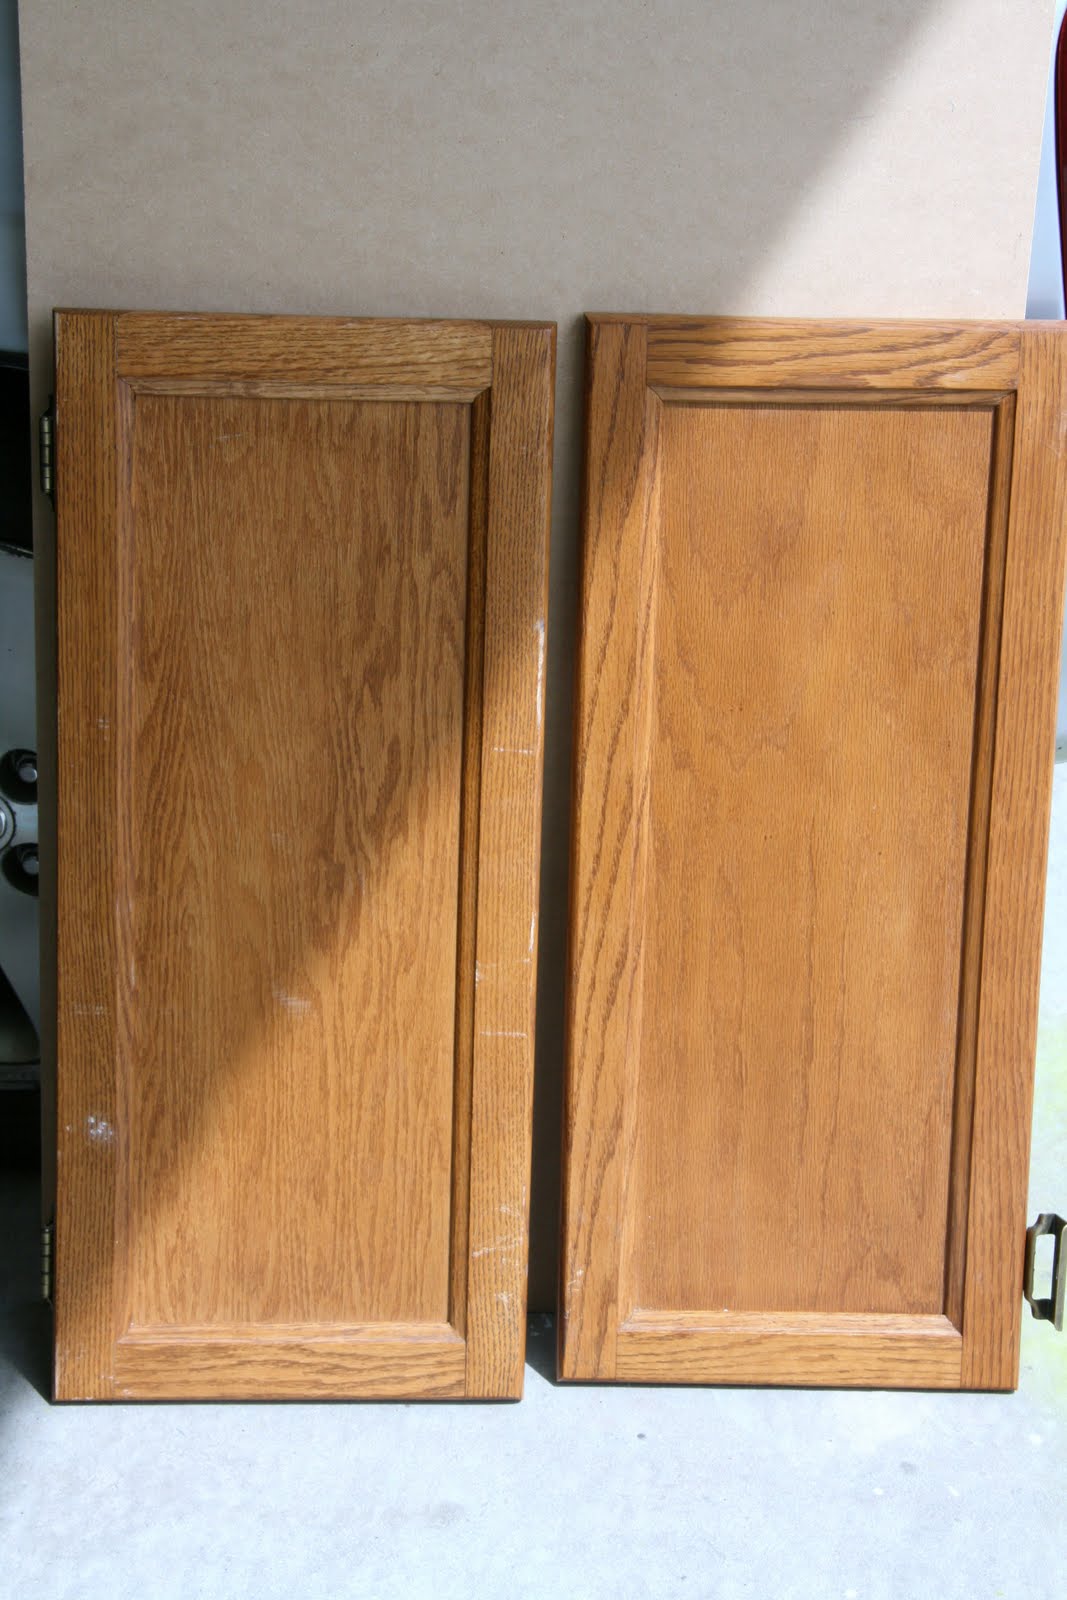
But you could use an old piece of wood or anything with a flat surface really. Just an FYI, you can pick up random cabinet doors at IKEA for a couple of bucks. The {As Is} section is fast becoming my favorite area...even more than the food court...all right not really. Nothing can take the place of a heaping mound of hot, swedish meatballs, smothered in artery blocking gravy and accompanied by heart attack mashed potatoes and lingonberry sauce. Not healthy, but oh so yummy. Uh-hum, back to cabinet doors.
I prepped my cabinets:
Sanded:
Primed:
Painted-first coat:
And then used candle wax to help make it look all old and chippy:

Painted again- final coat:
Then I wiped off all of the waxy areas, to reveal old, chippy deliciousness:


While the paint was drying I prepped my spoon and fork stensil.
I used contact paper and freehanded an image onto the back and cut the image out. I used additional contact paper to protect the edges of the cabinet doors from paint over spray.

Then I sprayed it with chalkboard paint.

After it had ample time to dry, I removed the contact paper.
And voila..really plain, nothing special, spoon and fork chalkboards.

So, the finished product really didn't do anything for me. I really hate it when things just don't turn out right the first time.
Time for some brainstorming. I'm in the process of redoing my living room/kitchen area and I'm trying to stick to neutral colors and oraganic fabrics and accents. So by process of elimination I decided to go with burlap. I love burlap. It's neutral, but at the same time has great texture.
I used burlap to line the inside panel of the cabinet door. Then gave it a more finished look by gluing burlap cording along the edge.

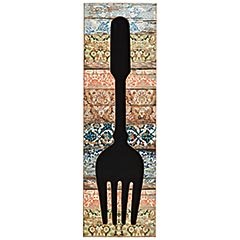
Insead of using chalkboard paint this time, I opted to use chalkboard vinyl. I traced out an image of a fork and spoon onto the back then cut them out. I used spray adhesive to stick them to the burlap...and voila.
A much better end product.


These babies are gonna go great in my kitchen. I like that they are artwork, but also functional at the same time.
I ended up spending $6 for the burlap and cording and $11 for the chalkboard vinyl. The cabinet doors were a dollar a piece and everything else I had on hand. That's a grand total of $20, or $10 for each piece...a fourth of the price of the original. Not too shabby methinks. Do you know how many meatballs I can buy with the money I saved? I think I might have to reward myself with a little trip to IKEA now. See ya at the meatballs.

YOu make it look soooooo easy!!
ReplyDelete