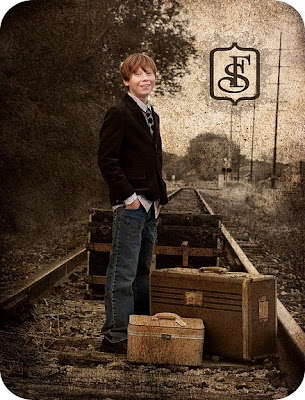
So, I started researching ways to do it myself and came across a half dozen or so different techniques. I finally settled on this version.
All you need to complete this project are:
gel medium {available at any craft store for about $13-14...I used a 40% off coupon and got it for $11}, artist canvas in your desired size {the largest size I could print was 11 x 17 so I bought 11 x 16 canvas's}, and finally a laser printed photo {if you don't own a laser printer, you can get copies made at FedEx Kinkos for around $1.75}. And that's it.
I started out by, trimming down my picture.
Then I applied an even coat of gel medium
{okay, here's the part where I get real. The first canvas I did, I applied a nice thick coat of gel medium. The only problem was that my picture wrinkled due to how thick it was...refer to picture below.
The second go around I applied a lighter, yet still even coat of gel medium and my picture stayed nice and smooth.}
Then you need to place your photo, face down, onto the gel medium and let it dry {preferrably overnight}
Once it is dry, you need to remove the paper backing by spraying it liberally with water
then "massage" the living daylights out of it. I say massage because you must have fingers like a ninja...strong yet stealthy. You must find that delicate balance of firm, yet gentle. It's hard to explain it, you just have to "get the feel" for it, but just know that if you rub too hard {or don't let your picture dry overnight} you will end up rubbing off the ink...refer to picture below
This is what happens when you get impatient and don't let your photo cure long enough...note how only Quinn's eyes rubbed off...CREEPY!
My nimble fingers in action
Aww, there's that handome fellow.
Once you have rubbed off all of the paper, or think you have rubbed off all of the paper, let it dry again. This will allow you to see if you missed any paper...again refer to picture below.
This is what happens when you get antsy and don't double check to make sure you have indeed removed all of the printer paper.
If you still have some paper remaining, just wet the canvas again and gingerly massage. Continue to do this until your picture looks kinda like this.
Note how the picture looks a little distressed or worn looking. I actually kinda dig it, so I don't have a problem with it. I really don't know if it's possible to get a perfect transfer of ink. So just bare that in mind should you decide to try this out on your own. A vintage/rustic look can/should be expected.
Finally, to protect it, go over it one more with a coat of gel medium. And voila. Homemade DIY canvas's.
Even with a little trial and error and few "learning experiences" it was still heckalot cheaper to make my own canvas's. For seven photos, I ended up spending about $44...which is what I would have spent on one canvas had I sent them out to be done. Seven...actually nine if you count my mess ups...for the price of one. Now that's my kind of deal.


