Showing posts with label furniture. Show all posts

Monday, August 19, 2013

Make it Monday- under $10 nightstand revamp

Sorry this post is a little late.
Today was the first day of school and I have spent all morning weeping...
TEARS OF JOY!!!

Just kidding.

It was surprisingly difficult letting my kiddos go to school today.  My oldest started high school and  I'm in a bit of shock about it.  As long as it was still summer, he wasn't in high school.  What made matters worse was how easy it was for each of them to say goodbye and run off, without even a look back.

But we aren't here to talk about feeling old and unneeded right?  Onto something a little less emotional...

Check out this little guy I found.  I totally feel like I struck gold.
 Immediately, I was drawn to the recessed handles and keyhole and brass corner details.  It's very campaign-y, no?  I love the wood and the grain, but due to some significant chipping along the base on the side, I knew it would have to be painted.  I was a little nervous about how I would work around the brass detailing, but I think the process I used worked perfectly.  Stay tuned for my secret tip, which I'll be sharing Wednesday.

As much as I loved the little nightstand, I loved the price even more...

$5.00


I recently re-redecorated my daughters bedroom {it's like musical bedrooms up in here} and I knew this piece would be the perfect addition.  It's a little masculine, but it wasn't anything a little pink paint couldn't fix.


I think the pink suits it.  It's a perfect balance of tough and feminine...kinda like a tomboy, which is totally fitting for my Avery.


And I love how the brass details really pop against the bright pink.


Not too shabby for under $10, eh?

Tip of the day...when treasuring hunting for furniture, look for pieces that have something unique about them; maybe it's the over all shape of the piece, the hardware or intricate carved detail.  Whatever it is, it will give your finished piece more interest and personality.

Happy Hunting!


Wednesday, August 29, 2012

Biding My Time aka. It's All In The Details-Part Deux aka. Things To Do While My Demon House Lashes Out

So while I'm waiting for the bid to come in on the work that has to be done in the basement, I've decided to catch up on a few more little projects.  I think if I tried to start a big project right now I'd probably have a nervous breakdown...and mama don't need that.  Here are a couple pics of my deconstructed basement.


The damage wasn't horrible, but because it was poo water, everything has to be ripped out...but enough about that for now.

All of the kiddos bedrooms are mid renovation...I've started on them, but haven't totally completed them. 

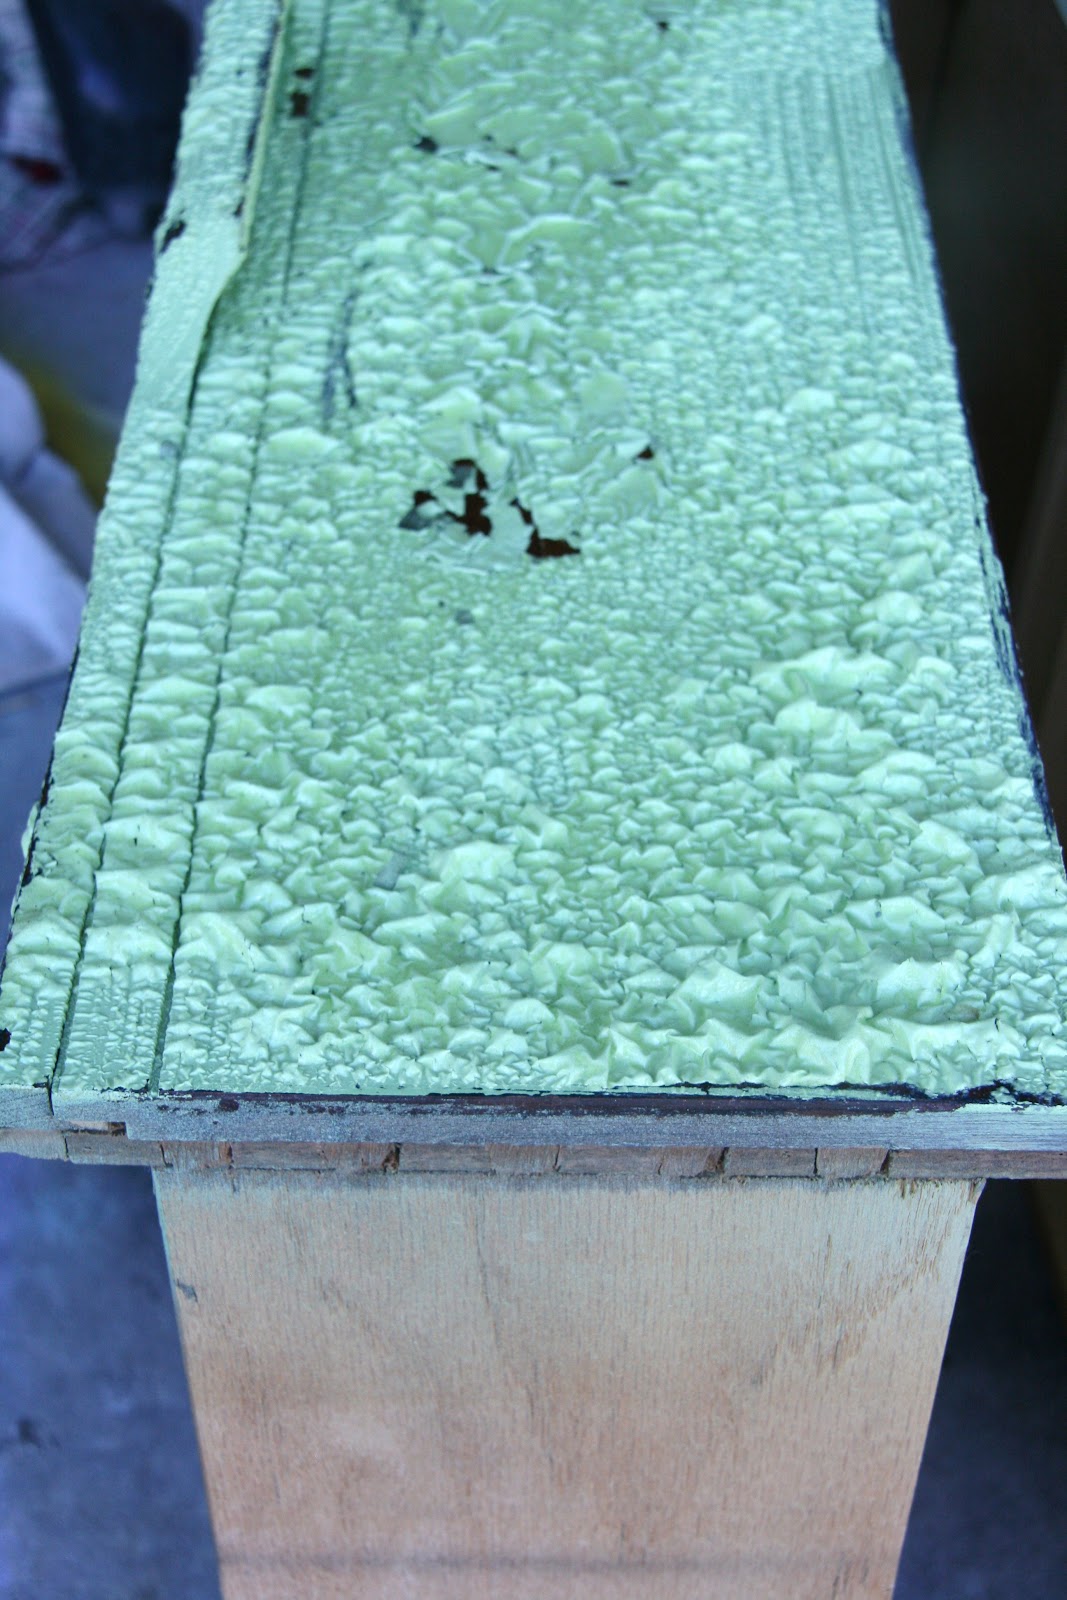
In the nursery/little kiddies room I've been using this green, mid century style nightstand for awhile. 
I love the style and shape of it, but I'm not really feeling the green anymore, so I thought now would be a good time to work off some nervous energy by giving it a fabulous make over.
{Once upon a time, the thought of stripping the paint of furniture used to rank right up there with the notion of moving...arduous, time consuming, and a major pain in the neck.  But I soon realized that it's not as bad as it's been made out to be.  In fact, I actually enjoy stripping paint.  There's something very satisfying about removing old paint to reveal something beautiful and natural that's hiding underneath.  It's like...finding buried treasure...except without the little bowl and strainer thingy.}

I started by stripping the paint off of the drawers. 


I really love the aesthetic of paint and natural wood together.  Some of you may remember the dresser I revamped recently for my daughter's room.

I particularly love the combination of white paint and wood.  I think it's super classy and sophisticated.  But, since this nightstand will be going into a nursery/kiddie room, I wanted to make it fun.  I opted to use turquoise paint instead {Krylon's Ocean Blue is my go to}.
After all of the paint and old top finish was removed I cleaned the wood with Afterwash{available at any home improvement store}.

Then I stained the wood

and applied a couple coats of wax to seal and protect it. 
I love wax.  I haven't done that much research in terms of how it holds up compared to a polyurethane/polyacrylic sealer, but I much prefer to work with wax.  It's so much easier, and if you find a citrus wax...it's also smells better.  And as an added bonus, the finish on the wood looks so much more natural.

Here she is now.  No too shabby, eh?  I like the little pop of blue in the room.


The other little project I completed was this little writing area in my daughters room. 
{note:  contact paper plus swamp cooler equals rolling and shrinking.  Oh well, at least I know that I like the wood look on that wall.  Just one more job to add the list}.
I've tried out several different chairs over the past little while, but just haven't been able to find the right one.  Then I remembered the cute little tree stump end table I purchased a few months ago and new it would be the perfect addition to the room...and it was-just the right fit for the space.  Done!

There are plenty more projects where those came from.  Good thing too, because with all of the shenanigans going on with the house lately, I could have bum loads of nervous energy to work off in the next little while.  Fingers crossed, though, that this demon house has finally been exorcised.


Tuesday, September 21, 2010

R.I.P

Guess what happens when you leave a bookcase outside and a huge gust of wind comes through?


This heap of poo used to be a decent all-wood book shelf in my hubby's office. It had been residing in the gay-rage whilst the hubs and I shuffled things around in his man cave and redecorated.


Little did we know when we left the ole girl oustide it would be the last time we'd see her intact. I didn't even get the chance to say goodbye.


Oh well! Because there is a happy ending to this story.


When I went out to the garge to organize her remains I noticed that the pieces were still in pretty good shape. I thought it a shame to just discard them...for that's not the way of the frugal decorater.

As I sorted through the pieces I could see the potential in all the salvaged parts.

When I saw these guys my mind started going crazy. I saw a pair of standing photo frames, or if I added some knobs a future "knobby wall".


But, instead I decided to do this.

It's hard to see the numbers due to the flash on my camera, but they're there. I promise.

I've always had this philosophy that if something is in a room it should have some sort of purpose or functionality. So, ummm, the purpose of these number boards is to teach the little ones number recognition. Ya,that's it. I guess that if a person likes the way something looks, that's enough of a purpose, right?


{Look son, there's a two.}

I didn't take step by step pictures, so this isn't really a tutorial. And if you don't happen to have and old book shelf that has been brutally violated by the wind you could use any old {board} you have lying around. I started the process by sanding the wood with a medium sanding block. Then I primed them with Kilz spray primer. After they were dry, I painted them with Krylon brand Ocean Breeze. Then I distressed them and stensiled the numbers on {I just used a font off of my computer and made my own stensils}. Then I distressed the numbers by wiping off some of the paint so they looked faded and worn. Finally I glazed over the entire project with Ralph Lauren faux finish glaze. {Here's a tip, don't by your glaze pre-tinted. You can tint it with acrylic paint on your own. Sometimes I like black, sometimes brown. This way you can control the color. This time I used a combination of black and a little gray.} And voila...distressed number boards. You likey?

Stay tuned to see what becomes of the rest of the remains. It'll be flippin' awesome (written in my best Napolean Dynamite type).
OH, don't forget to enter my Halloween Giveaway. You can go here for all of the details.


Linking to:


The DIY Show Off


Blue Cricket Design

Tuesday, August 31, 2010

PB Inspired.

I love Pottery Barn. Every time I get my catalog in the mail, it's like Christmas has come early.
I love purusing the pages, dog earing the ones with a design idea I want to replicate or recreate on a shoe string budget.
Recently I made knock off vintage feed bag pillow cases like these in the PB Catalog.
I'm currently in the process of recreating some other decorative items straight out of Pottery Barn. I am hoping to have the results posted later today. So, be sure to check back soon.
But the thing I'm really excited about is this:

These are the Pottery Barn version of some fabulous dining chairs. I love the fun colors, upholstered seats and carved wood backs. They retail for $249-349.
Now take a look at this:

I found five of these luver-ly's at the local thrift store on Saturday. I spent $10 a piece on them. I know that the wood cut outs are a little different, but the styles are similar. I can harly wait to paint them and see just how closely I can get them to resemble the PB version (I am loving the pale blue color, in case you were wondering).
Now, look at this.

This little beauty retails for $999. *sigh* I could sit and admire her for hours. There is just something about a round, pedestal table I find so attractive.
Now, do you remember this?

I found her at the thrift store for $20. She's been waiting patiently in the garage for her moment to shine and think it's about time.

Stay tuned for the Pottery Barn vs. Erika's Garage showdown. It's gonna be a good one.

Sunday, August 22, 2010

Anatomy of a vingette.

So, I had this weird little space in my front room that I didn't know what to do with.
Then one day as I was purusing the isles of my favorite thrift store I saw this little beauty. It was like being reunited with a long lost love. I swear I even heard fireworks. (Okay, maybe it was really gunshots. My thift store is kinda in da hood). When I saw her I knew...writing nook

She needed a little TLC, but not much. All I did was wipe her down and give her a coat of dark walnut stain.
I love the variation of her wood and how the dents and scratches give her the "worn over time" look I was going for.

Did I mention she only cost me $8? Bargain.
I put her in her new home and paired her up with these three little guys.


I found them at the thrift store as well. They got a fresh coat of paint in apple green and then I glazed them to make them look old and worn. These three cost me $3.
Then I remembered a thrift store purchase I had made a few months back and decided to introduce him to the gang. He fit right in.

Then came Mr. Twigg's. (An old, glass milk bottle I found at the thrift store. I dressed him with a few willow sticks from the backyard and he was good to go).

And Booksy. (This cool idea comes from my sister who saw it somewhere. All you need are a few old, hardback books that you don't might desecrating. You simply tear off the hard covers and...voila, a cool bundle of ancient looking books. I tied them up with an old piece of twine I had lying around).

Then finally Ole Blue. (This item was my only splurge as I purchased him at a retail store rather than a thrift store. Isn't he the cutest?)

Here's the completed space.

The best part is that I was able to do all of it for under $24. I am thinking about putting some decoupaged numbers or letters inside the empty frames so stay tune for the tutorial. This just goes to show that creating a space can still be chic and cheap at the same time.

Wednesday, July 21, 2010

David Bromstad Where Are You?

So, here is my new dresser. I lu-huv her. However, I am noticing that she is a little more flawed that I had first noticed. I am anxious to bring her indoors and give her a cozy place to take up residence. But before I can do that, I have to paint the ole girl. So, now I'm faced with the conundrum of picking a paint color. I think I must overanalyze things, cause it really shouldn't be that hard to do, and yet I feel like I'm the guy from Lost who holds the well being of the world in his hands...I can't handle the pressure.
I thought maybe you guys could help. It's always easier to make a decision when you aren't the one having to live with the results. Am I right?
So, to you I ask, what color should I paint this beautific piece of furniture? I am bouncing between a rusty red, white or maybe a pale or turquoisy blue...or maybe black.
So, if you don't mind taking a minute, maybe you could help me narrow down the choices.


Also, here's a little peek at where she will be staying. Just thought it might help to see the color scheme etc.

I think that red would accent the green nicely, but white would be really nice and crisp, blue is fun and whimsical, plus it looks fab with green and black is always a good fall back when you don't know what to do.


See that blue table, he's going buh bye. That's where the old girl will go as soon as she gets her extreme makeover.