Showing posts with label campaign furniture. Show all posts

Wednesday, August 21, 2013

W.O.W Wednesday- Vasoline...it's not just for lips.

I recently found this $5 beauty.

I immediately fell in love with the unique, recessed pulls and brass corner embellishments.  If the wood had been in better shape I would have left it as is, but it was clear it needed to be painted.

The first thought I had was, "how am I going to protect the hardware and brass details from paint"?

Taping wasn't really an option.  There wasn't any way to tape off the recessed hardware anyway.  Then my common sense kicked in and I immediately thought of petroleum jelly.

I figured if it's good enough to repel water, it should be good enough to repel paint too, right?  So I went with it...hoping the outcome would not be a hot {pink} mess.

I used a Q-tip to apply the jelly all over the corner detail, hinges and pulls.  I tried my best not to get any on the wood...although it's inevitable a little will.  I made sure to apply a thick layer of jelly just to be sure no paint would stick.  I don't have a picture of it, but I figured it was pretty self explanatory.

Then I let the paint fly-or spray...whatever.
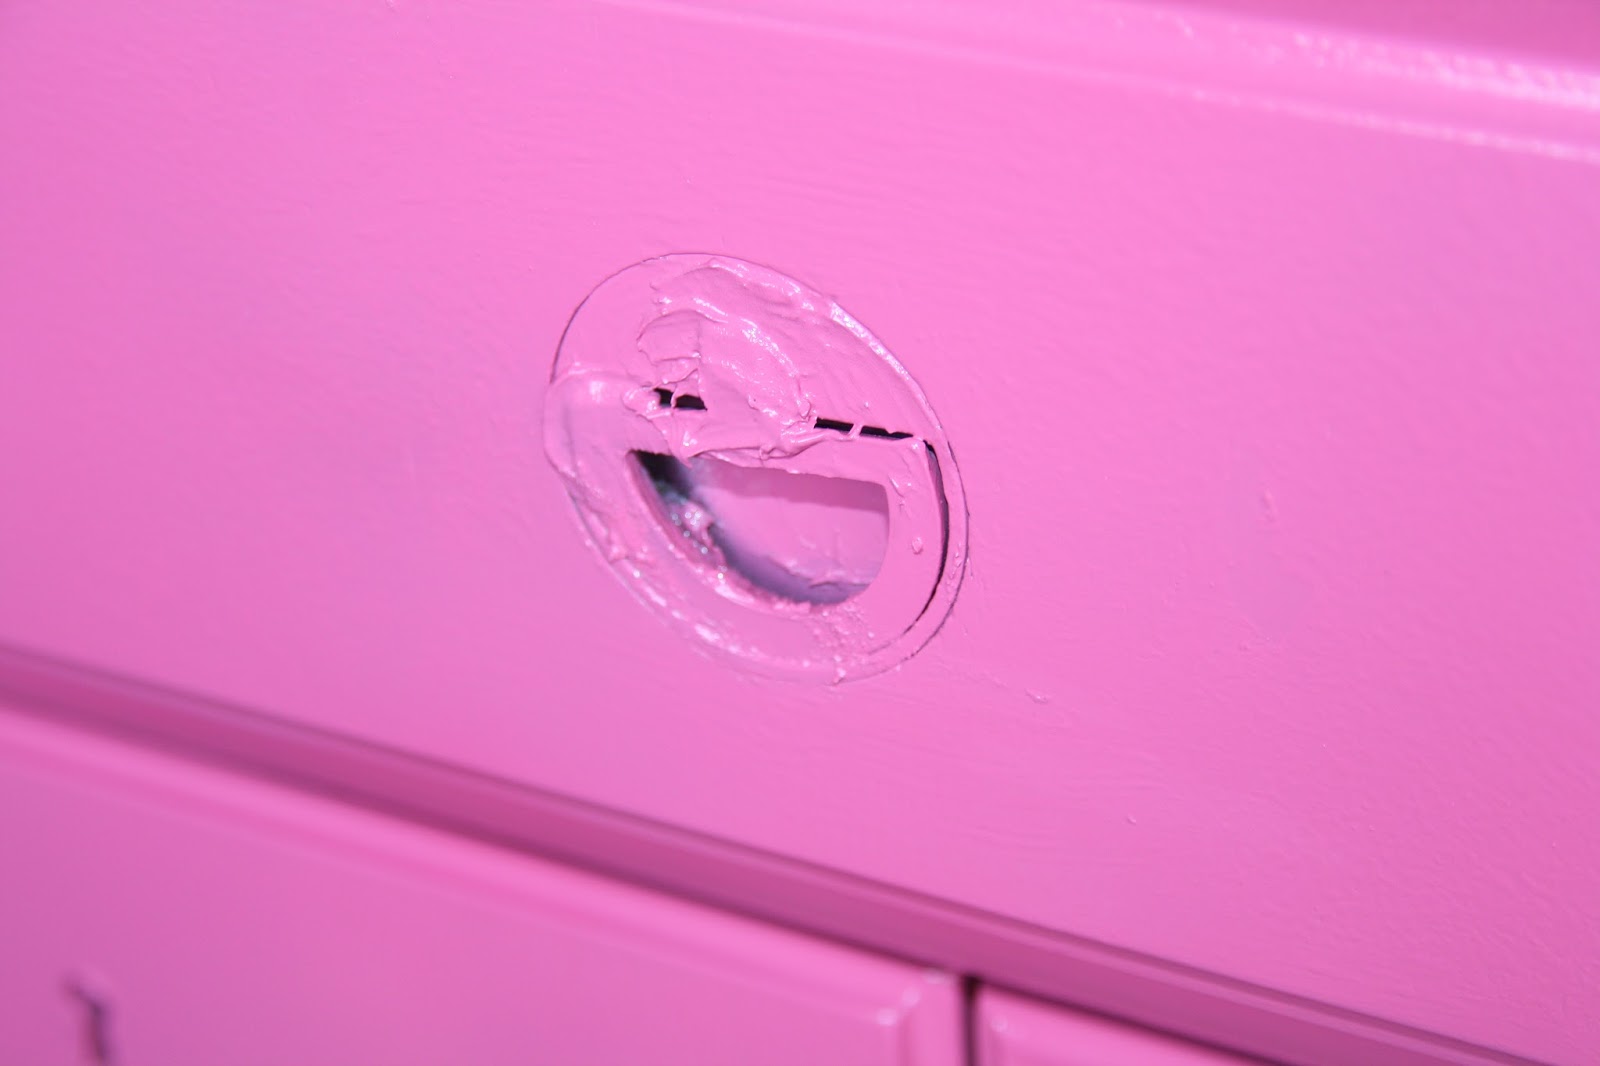
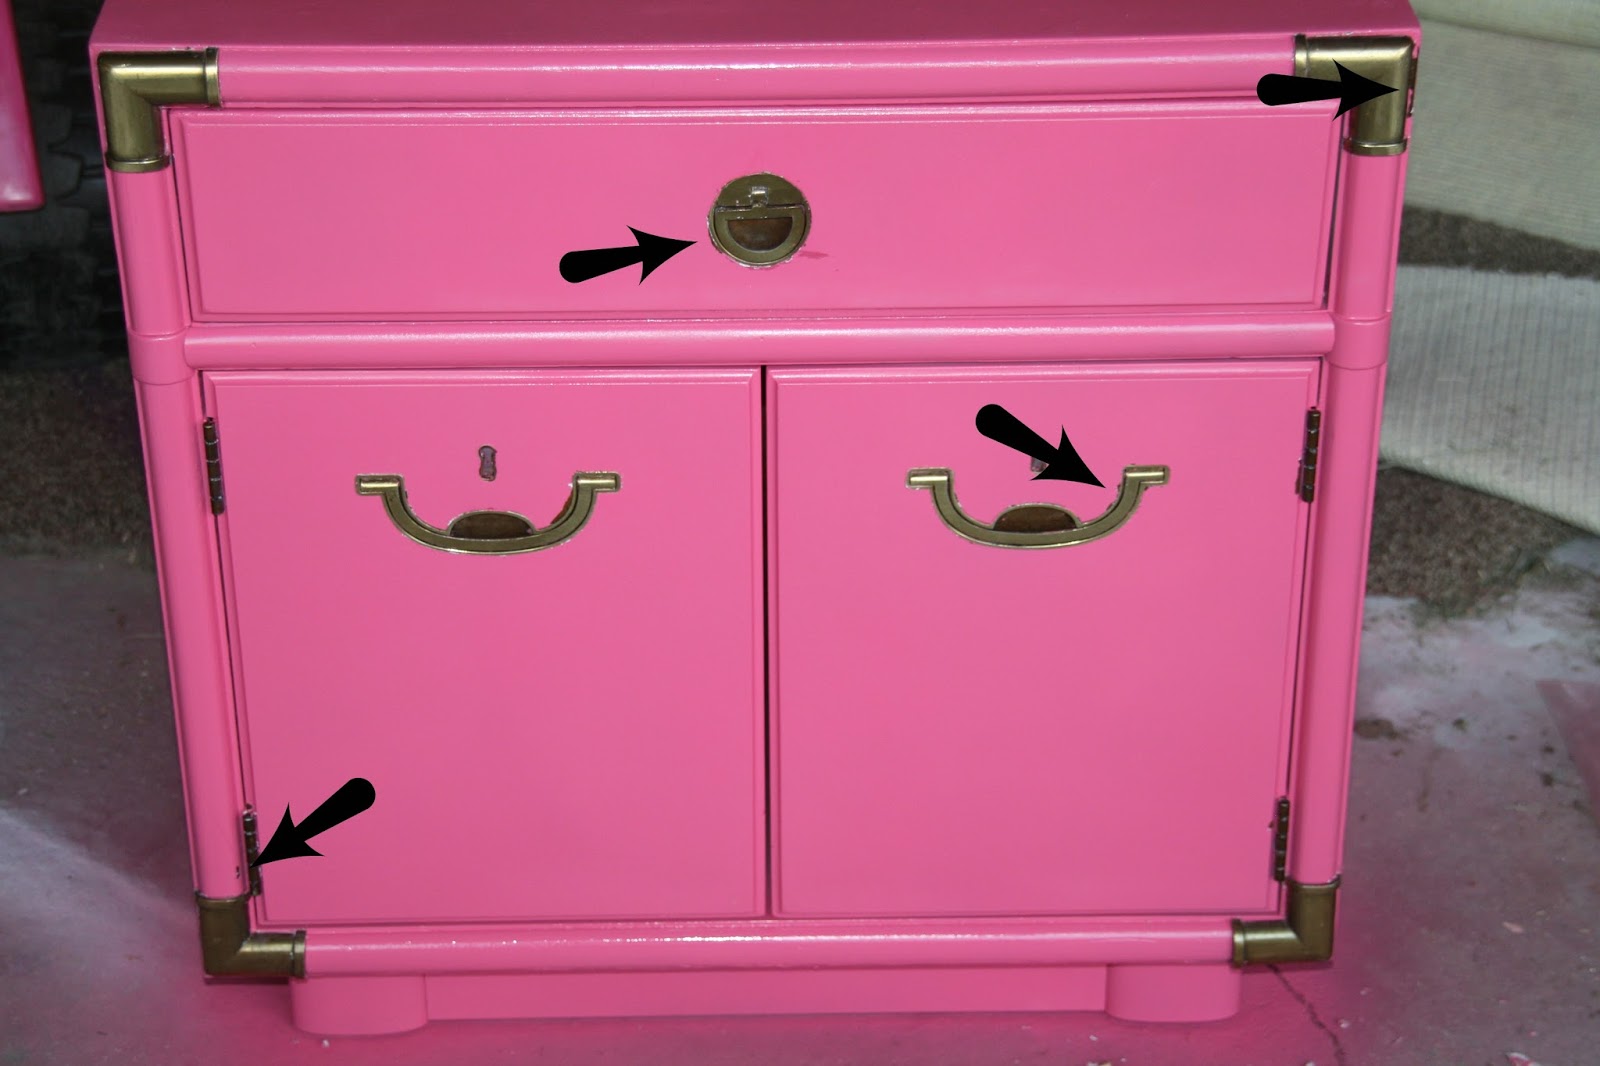
Here's how the hardware looked after it was painted.


You can clearly see the Vasoline underneath the paint.

I let the piece sit overnight so that the paint was nice and dry before I tried to remove the petroleum jelly.  Using a clean, dry cloth, I carefully wiped the petroleum jelly away and was left with...

delicious brass.  Hello there!

I spent a little time scraping and cleaning off some "left behind" paint.

And there were a few, small spots I had to touch up where the paint had peeled due to some 
AWOL Vasoline.

But, on the whole, the Vasoline process was quite effective.  Much quicker and easier to implement than taping...at least in this case.

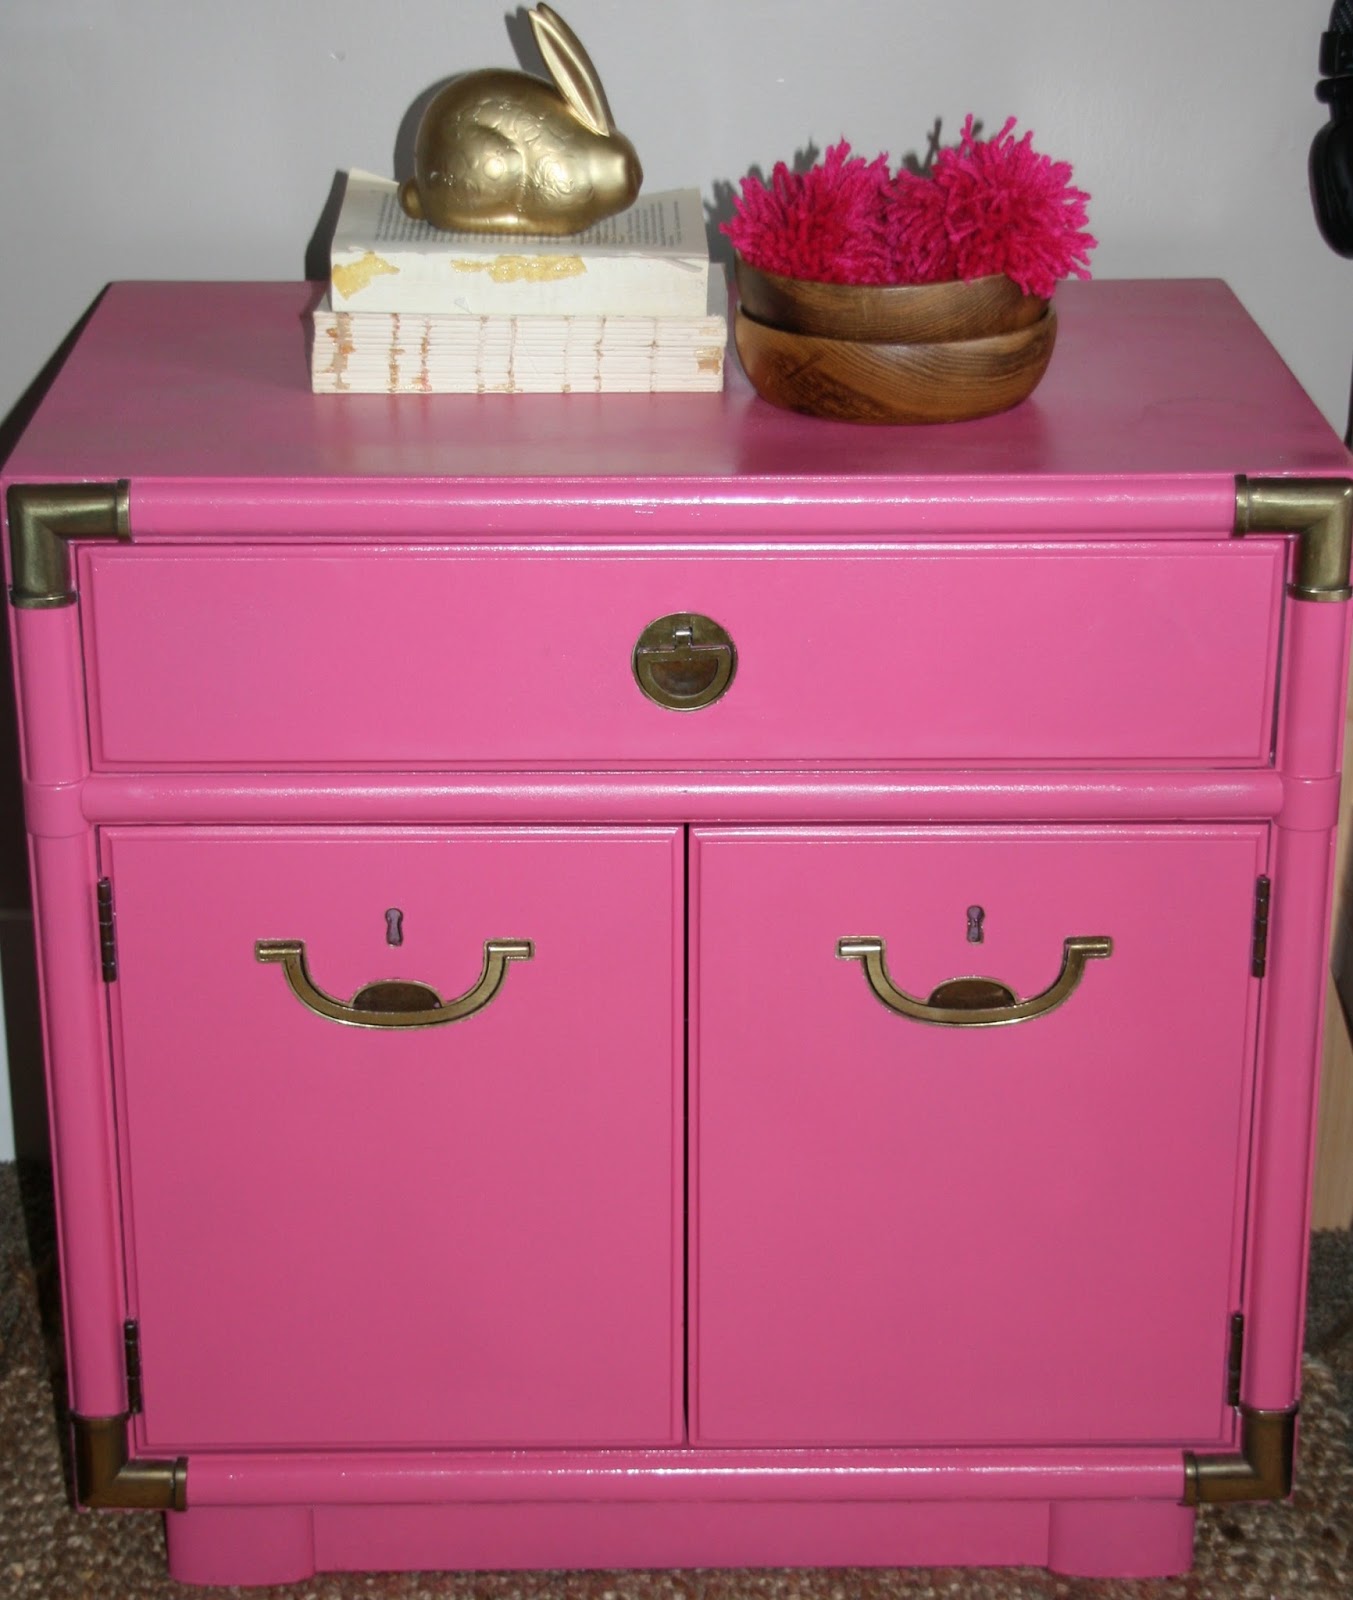
After tidying up the piece a bit, she looked good as new.
 It's the perfect pop of pink in my daughter's room.  And the brass...just, YUM!

So, the big question, would I use this process again?

My answer, absolutely!  


Monday, August 19, 2013

Make it Monday- under $10 nightstand revamp

Sorry this post is a little late.
Today was the first day of school and I have spent all morning weeping...
TEARS OF JOY!!!

Just kidding.

It was surprisingly difficult letting my kiddos go to school today.  My oldest started high school and  I'm in a bit of shock about it.  As long as it was still summer, he wasn't in high school.  What made matters worse was how easy it was for each of them to say goodbye and run off, without even a look back.

But we aren't here to talk about feeling old and unneeded right?  Onto something a little less emotional...

Check out this little guy I found.  I totally feel like I struck gold.
 Immediately, I was drawn to the recessed handles and keyhole and brass corner details.  It's very campaign-y, no?  I love the wood and the grain, but due to some significant chipping along the base on the side, I knew it would have to be painted.  I was a little nervous about how I would work around the brass detailing, but I think the process I used worked perfectly.  Stay tuned for my secret tip, which I'll be sharing Wednesday.

As much as I loved the little nightstand, I loved the price even more...

$5.00


I recently re-redecorated my daughters bedroom {it's like musical bedrooms up in here} and I knew this piece would be the perfect addition.  It's a little masculine, but it wasn't anything a little pink paint couldn't fix.


I think the pink suits it.  It's a perfect balance of tough and feminine...kinda like a tomboy, which is totally fitting for my Avery.


And I love how the brass details really pop against the bright pink.


Not too shabby for under $10, eh?

Tip of the day...when treasuring hunting for furniture, look for pieces that have something unique about them; maybe it's the over all shape of the piece, the hardware or intricate carved detail.  Whatever it is, it will give your finished piece more interest and personality.

Happy Hunting!


Monday, August 12, 2013

Make it Monday...His & Her Nightstands {campaign night stand mini tute}

The master bathroom saga continues.  Somehow the three week project has turned into two and half months, but apparently this is to be expected.  Meanwhile, I am just trying to be patient and keeping myself busy with projects until everything is finally finished.  Fingers crossed that will be by the end of the week.  It sure would be nice to have everything wrapped up before the start of school next Monday.

I've been biding my time by working on some little projects for the master bedroom...the most neglected room in my house.

I decided to start with some nightstands.  I really like the look of mismatched or "his & her" nightstands.

I knew I wanted something softer and more feminine for the {her} side and something a little more substantial and masculine for the {his} side.

I already had the perfect piece for the {her} side...a small pedestal table I bought several years ago that was just sitting in storage waiting to be used.  Repurposing.  Don't you just love it!

It is similar to the one pictured below.


I was having a much more difficult time finding something that I liked for the {his} side, but then came across this beat up, old set of drawers at the thrift store.


I didn't much care for the dresser itself, but I thought the hardware was interesting and unique.


I asked if I could just by the hardware and pointed out that the dresser was in bad shape and made of cheap particle board.  I don't usually do that, but I was so set on getting the pulls that I broke character and got assertive.  I was able to get all five pulls for $2.  I seriously felt like I had won the lottery...and I may have even skipped all the way to my car.

Even though the hardware isn't the typical, recessed "campaign style" hardware, it was sort of reminiscent of it, so I decided to try my hand at replicating a campaign style dresser/nightstand.  And just a little side note for you history buffs, campaign style furniture was initially designed for military campaigns.  Because these campaigns were often on the move, this style furniture was designed to be broken down for easy travel.  The brass, corner detailing was there to add protection to the pieces during transport and is what gives the pieces their signature look.  It doesn't get more masculine than that right!

I knew Ikea had a small, inexpensive pine {Rast} dresser that would be the perfect height and size, so I picked one up for $35.  I'm sure you could find something similar at the thrift store for a little cheaper, but there's been a bit of a drought at mine so I settled for the slightly more expensive, yet still very reasonable Ikea version.
I only wanted one pull on the front of each drawer, so I filled the pre-drilled holes with spackle and re-drilled some right in the center.

For the corner detail, I purchased some flat, corner braces at Home Depot.  They come in 2 inch and 4 inch sizes.  I used the 2 inch and they were $2.50 for a pack of four.

I ended up painting my nightstands a birght, royal blue color...daring, I know.

Once the paint had dried, I screwed the braces into each of the four corners of each drawer.

Make sure that the screws aren't too long, otherwise you will have the sharp, tips of the screws poking through the other side.

And attached the pulls...and voila!

 my {his & her} nightstands.


{hers}


 I'm really loving the bright blue!

and {his}
I love this painting.  It was given to my father by one of his Psychology students.  It's supposed to be Sigmund Freud, but it also bears a striking resemblance to my father.  Is it weird that I have it in the master bedroom?  Studs seems to think so.


Okay, so what is the moral of the story?
1-  his & her nightstands are totally cool
2-  a little bit of spray paint can totally transform an old piece into something new and fresh and make you love it  all over again
3-  campaign furniture is super handsome {just like a man in a military uniform...only just for furniture} and is super easy and inexpensive to replicate

In total, I ended up spending around $50 for both nightstands...here's the breakdown
*table- free
*spray paint- $7 for two cans
*Ikea dresser- $35
*drawer pulls- $2
*corner braces- $7.50

for a grand total of...$51.50

Ba-Bam!