Showing posts with label veneer. Show all posts

Sunday, November 24, 2013

Fabulousness.

Howdy peeps!

I know that today is not Friday, but I still wanted to get in a few "fab finds" before a new week started.  I have a handful of them to share today.  The holiday season has got me in all sorts of a giving mood, what can I say?

My first fab find comes from my home away from home...Ikea.  For those of you with little kiddos, this will be of particular interest to you.
It is a "pepparkaka hus" {I love saying that!!!} It's a gingerbread house kit for $2.99.  Are you feeling the love?  I am because now I don't have to try and fashion five, little houses out of ill fitting graham crackers.  And...and, five of these "kaka" houses are about the same price as one of those kits you can buy at the grocery store, only now WWIII won't have to break out cause everyone can decorate their own.  Thanks Ikea!!!  My kids' houses are gonna rock it this year and I might actually stay sane through Christmas break.

My second fab find sort of goes along with my first as it also comes from Ikea and is of the "pepparkaka" variety.
I have been wanting to have one of those "handmade holiday" Christmas's where the fam sits together 'round the fire stringing popcorn and cranberries into garland and folding paper into sock and mitten shapes for ornaments.  In my mind I picture something straight out of a Norman Rockwell calendar, when in reality it would probably go down more like something out of Maury Povich episode.  Anyway, I have been wanting to make "homemade" cookie ornaments for the littles to decorate and now I don't have slave away in the kitchen doing the blessed souls at Ikea did it for me.  I know, I know... hardly handmade, but I don't think the kids are gonna care too much.  I mean who doesn't love a "kaka" cookie?

And finally, my third fab find, which I am completely obsessed with and totally wracking my brain trying to find a place to use them is... peel and stick paneling from stikwood.com.
 {source}
 {source}

The panels are real wood veneer with an adhesive back
which makes for a quick and easy space transformations...they are pretty much my dream product.

I did a little google searching and came up with a few awesome project that used these wood panels.

Keep a hanky handy cause you'll need it to wipe up all the drool.

 {source}


I love that you can use this product anywhere...on the wall, on the ceiling, on an island.
Don't be surprised if you see a "stikwood" project featured here in the near future.

Oh, and before I go, don't forget to enter my giveaway.  It ends tomorrow night and a winner will be announced Wednesday.  In addition to a free Kensie product of your choosing, you will also win a fun holiday gift from me.  Check back Monday to see what it is!!!  You won't be disappointed.


Saturday, March 2, 2013

West Elm Dresser Knock-Off

The last few weeks have been a little hectic.  My daughter had a piano recital a few days ago, and also just competed in a piano competition last night.  She did such an awsome job.  I just had to share how proud I was off her.  She is turning into quite a poised little lady.

After her competition, we drove straight to my son's belt test for karate.  This test was kind of a big deal, so he was really nervous....so nervous, he asked us to stay home.  The fam and I sat in the car and watched through the front windows while he tested.  He had no idea we were even there.  I am proud to say that my son is now a ban-bu belt and is only two belts away from a black belt.  Hi-ya!!!

{sorry for the grainy pic, my husband took it on his iphone}
Is it just me, or is he channeling his inner Napolean Dynamite?  Congrats on your sweet, karate skillsss.

I rarely share personal stuff, mainly because this is a DIY blog and personal stuff just doesn't seem to fit the content.  But, technically, I did make my son and daughter, so I think it counts. 

I have also been working on a dresser revamp for the last week or two, in between my stints as chaffeur, maid and cheerleader.  It was a bit of a challenge since the median temperature here in SLC has been about 35 degrees.  Spray paint and freezing temperatures do not go well together.

It took me a little longer than I expected, but I can finally say...she's done!

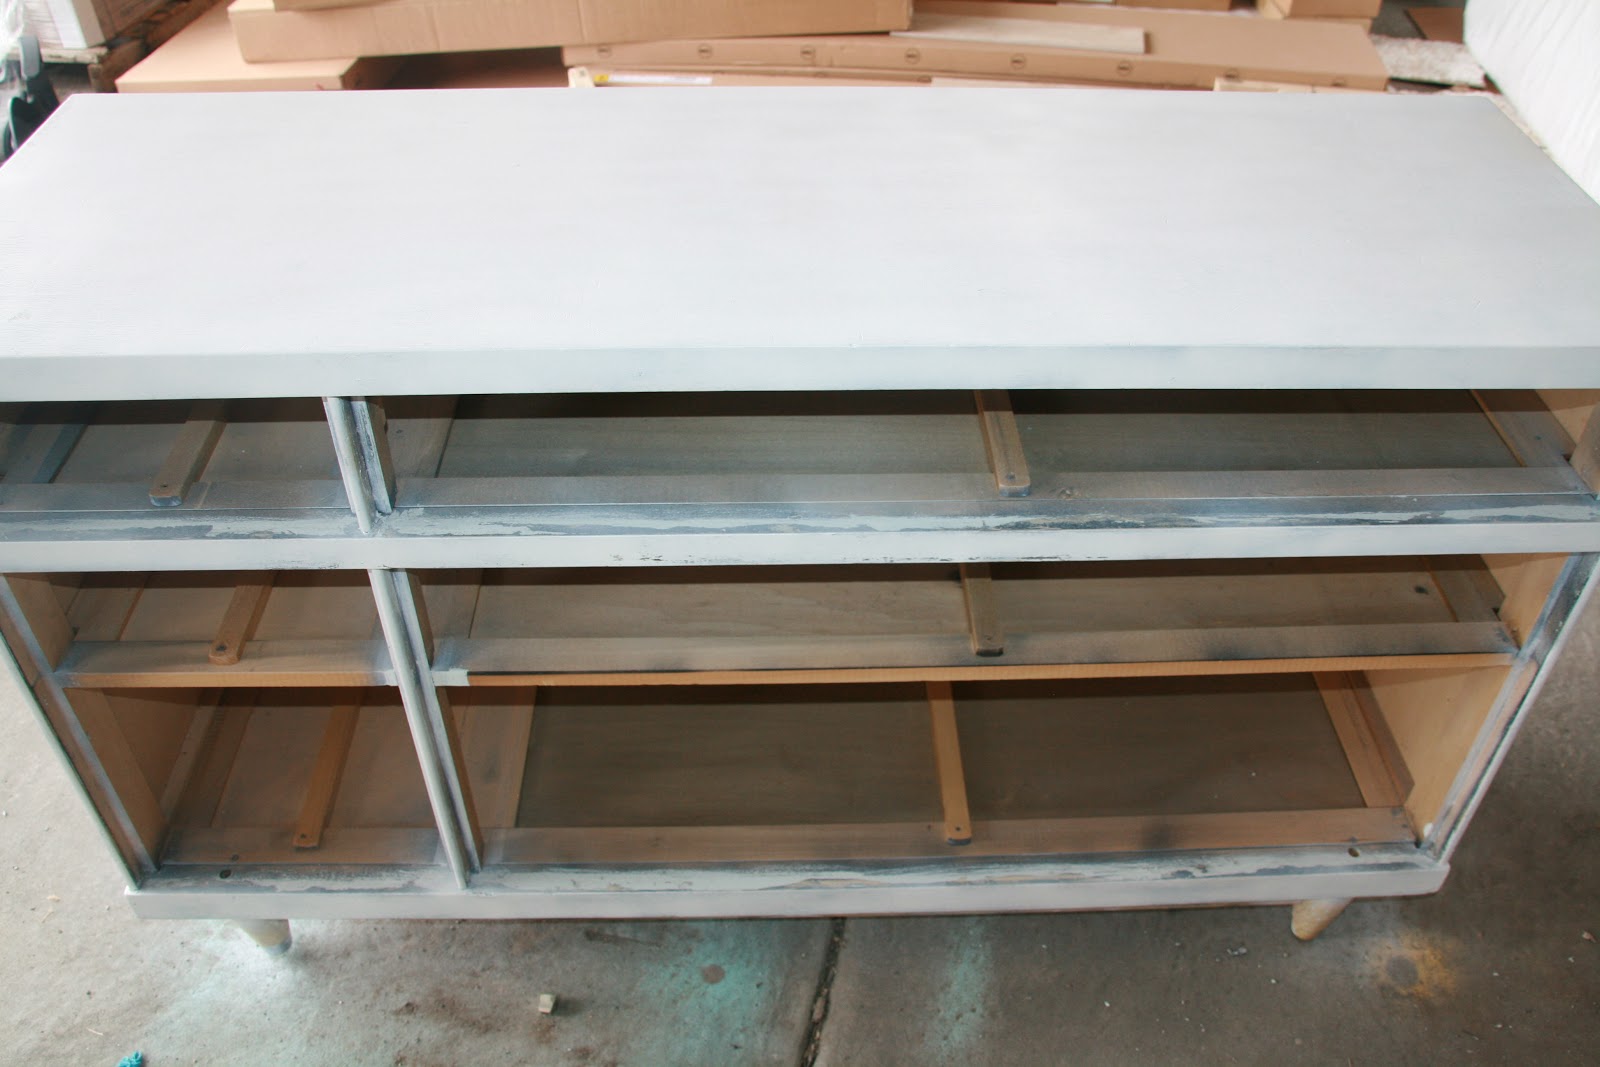
She started out in pretty rough shape.  She had a layer of paint that was peeling off.


And underneath ,the finish was a hideous, blonde color with dents, scratches and chips all over. 


I was able to look over all of these superficial imperfections mainly because she had the gorgeous, mid-century style that I absolutely love.

I removed as much of the paint and old finish as I could using Jasco brand painter stripper.


Once I had the majority of the paint removed, I gave her a good sanding and a few coats of spray primer.  I took care to sand in between each coat.


After two coats of primer, I gave her coat of gloss white spray paint.  Once she was finally dry, I sanded her again and applied another coat of spray paint.  In total, I ended up doing about three coats of paint.
I really wanted to do something new and different with this dresser.  After a couple days of thinking about it, I decided to try my hand at using wood veneer.
I used REAL wood veneer that I purchased off of Amazon.com.  I ordered three different colors a dark maple, a light birch, and a natural/gray walnut.  The sheets of veneer I purchased were 2 ft x 8 ft and were around $20-25 a piece.
I liked the way all three woods looked together, so I decided to use a combination of them on the fronts of the dresser drawers.  I was a little nervous at first, having never worked with wood veneer before.  But, I was pleasantly surprised at how easy it was to handle. 

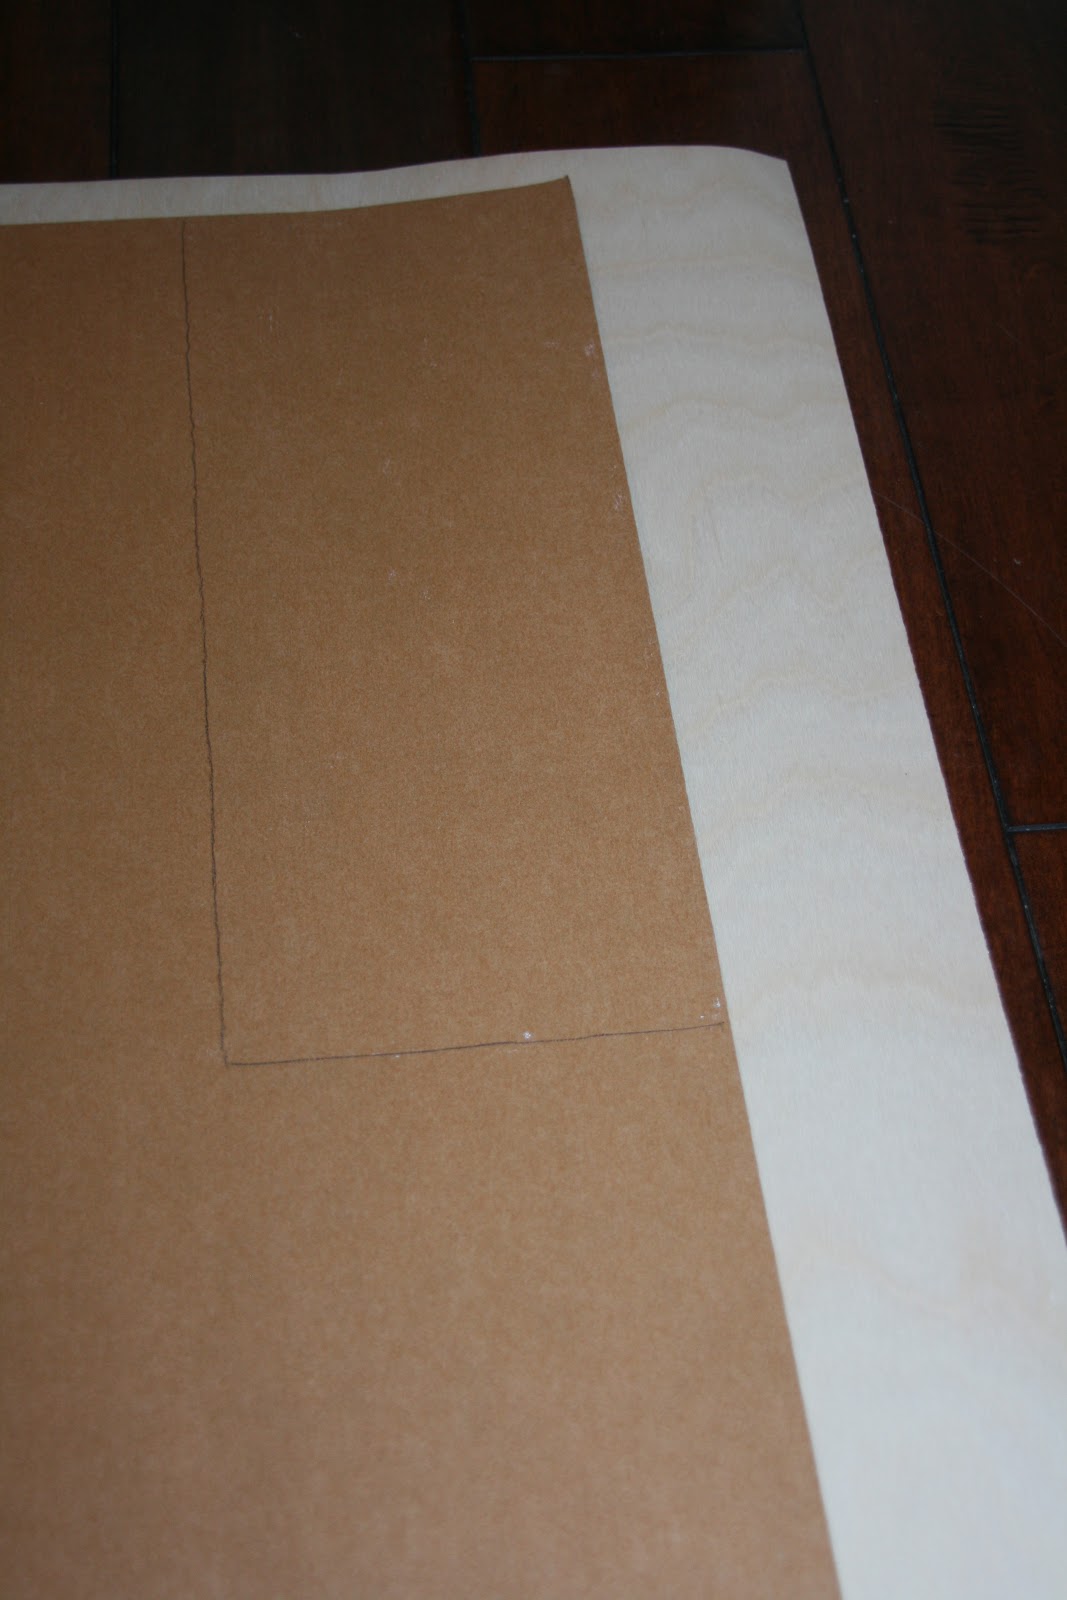
 I simply placed the face of the drawer down onto the backside of the veneer and traced around it with a pen, then cut the piece out.


I could very easily cut the veneer with sharp scissors, eliminating the hassle of using any kind of electric saw.  I was beyond excited about not having to spend any more time in my freezing garage.

Once I had all of my pieces traced and cut out, I adhered them to the drawer fronts using this stanky, toxic crud...which, coincindentally, resulted in an unexpected vanilla pudding craving


{I painted a coat on both the drawer front and the back of the veneer with a disposable brush, as per the recommendations on the back of the adhesive.}  By the time I went to bed that night I had a headache...and the munchies.
The veneer stuck immediately to the drawer fronts, which meant there was little room for error when placing it on.


It took 2-3 days for the adhesive to completely cure and then my dresser was ready to go.  Up until now I had kept her hidden away in my closet, but now I think she deserves to be put somewhere she can be seen.

She turned out pretty great!  She reminds me of a dresser I saw at West Elm a couple weeks ago.

Patchwork Dresser
{source}
I was really impressed by how beautiful the veneer was and how easy it was to work with.  I think I may have found my new, favorite product.


I had previously bought hardware similar to the dresser's origional hardware.  The brushed nickel finish looks great against the natural wood grain.


In total, I spent about $10 for the adhesive, $75 for the veneer and $15 for the spray primer and paint.  That's a grand total of $100.  If I remember correctly, the dresser selling at West Elm was $999. 

Now that's a savings worthy of frostbite and permanent nerve damage!!!